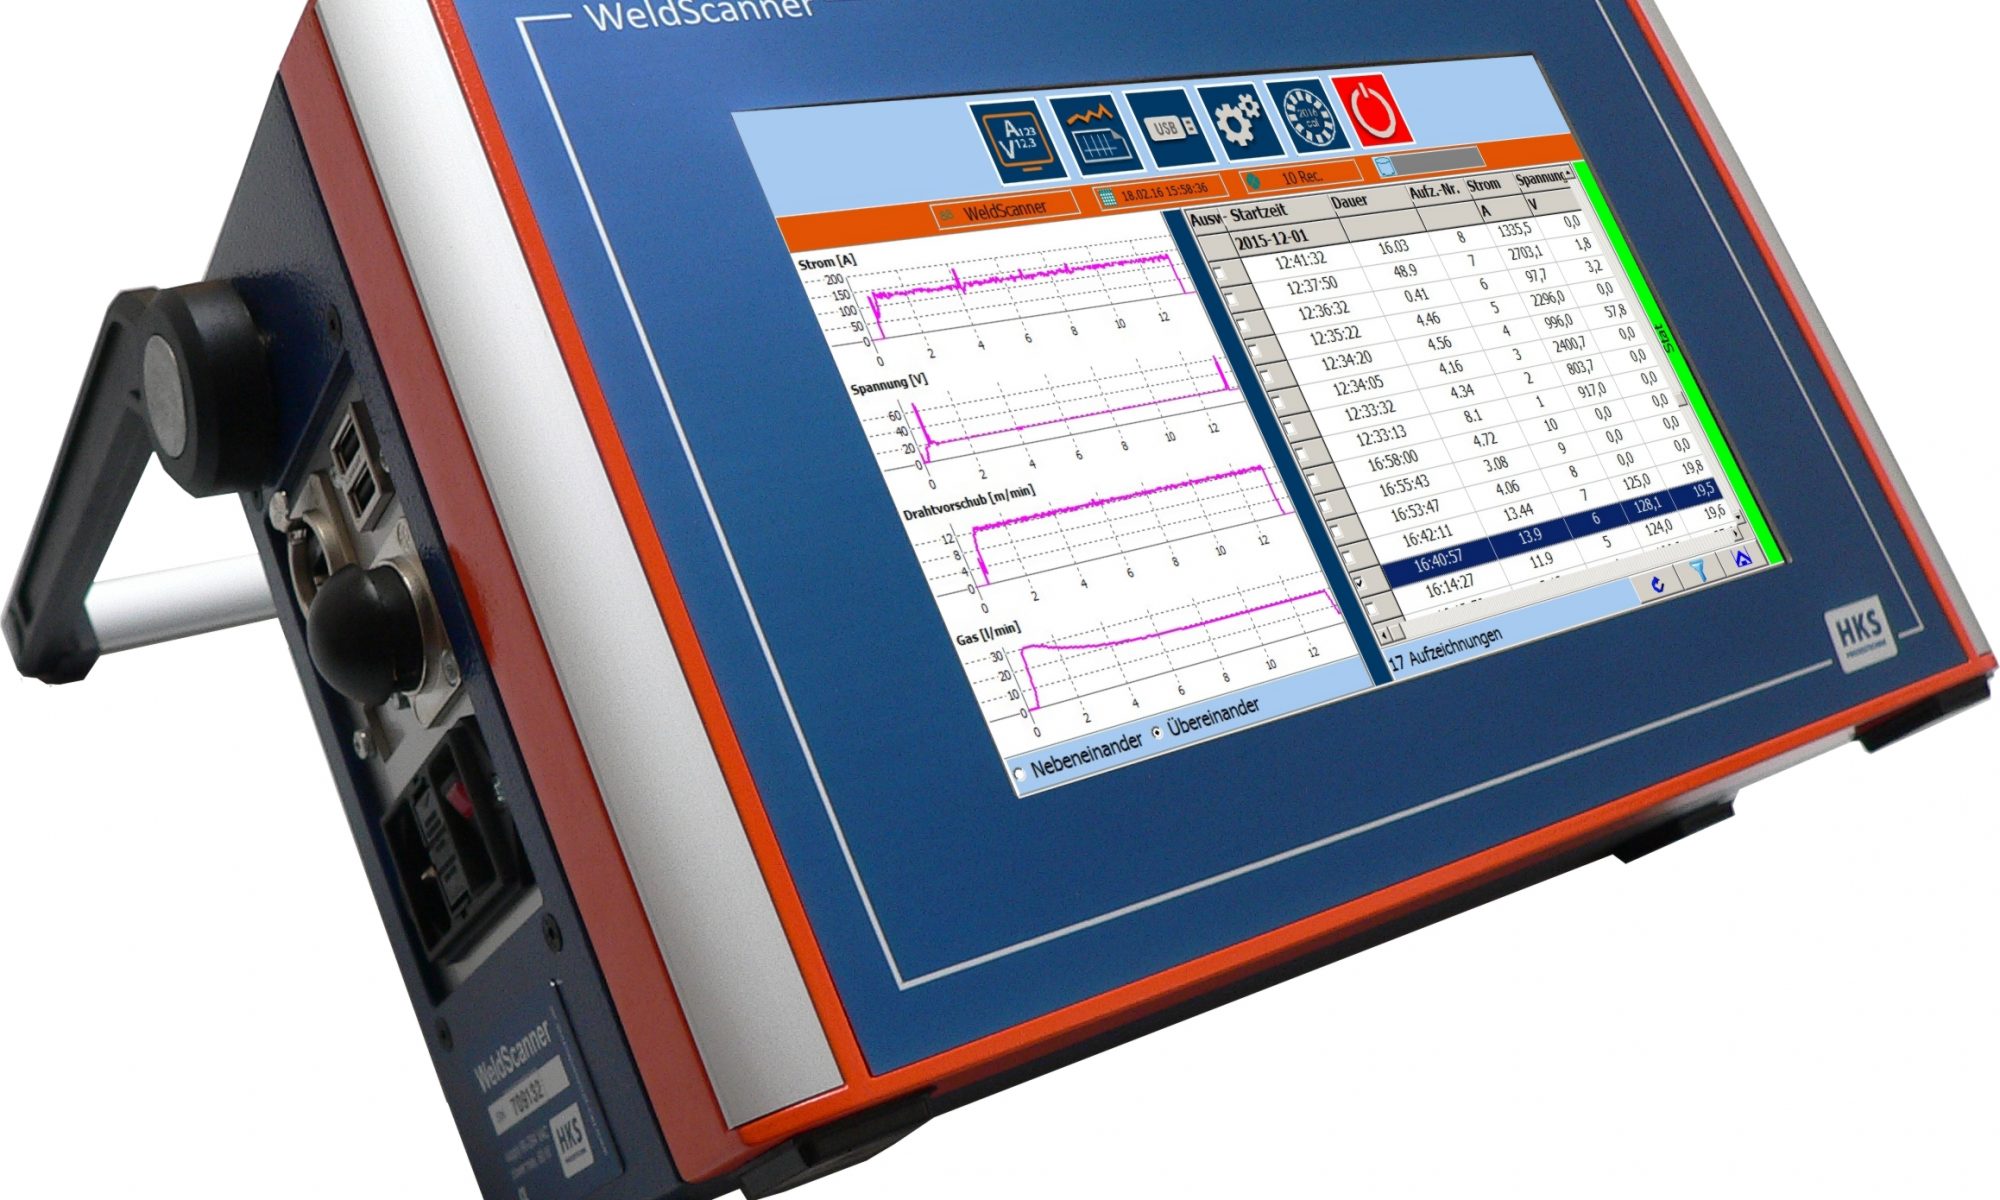
The multi-talented device for daily usage in arc, stud and resistance welding
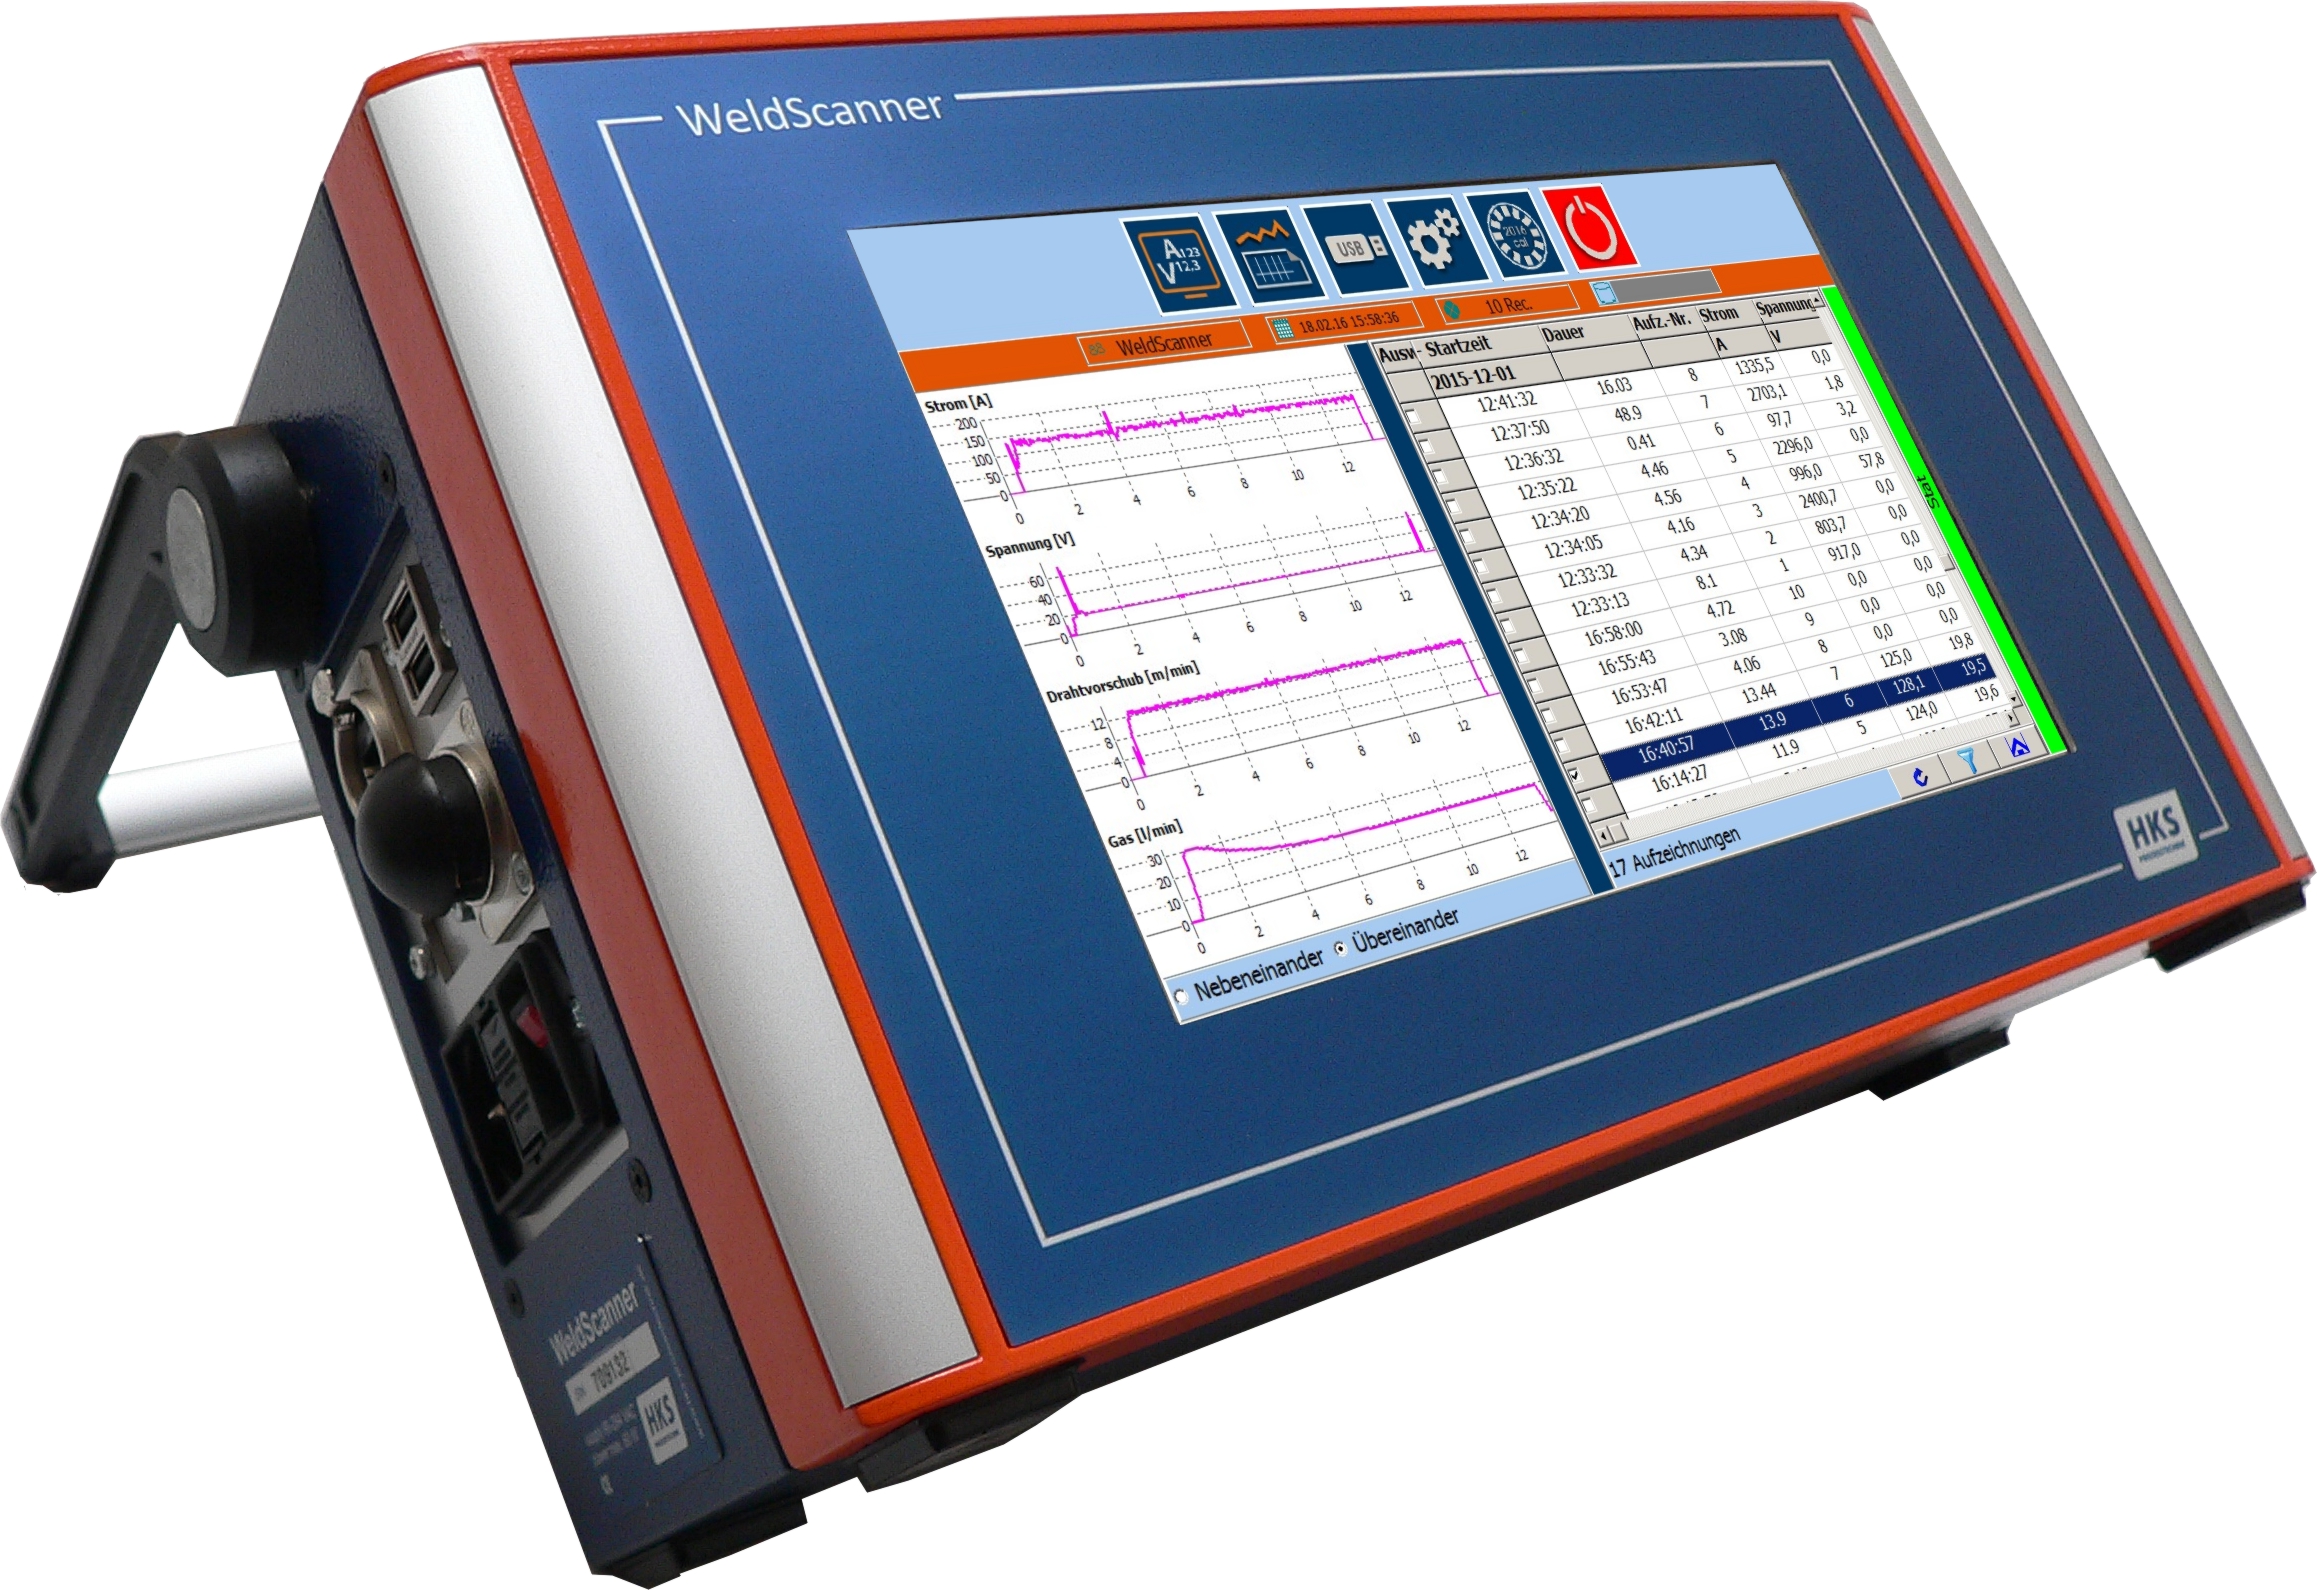
WeldScanner combines the functions of a “multimeter", an “oscilloscope" and a “writer" in a portable, industry-compliant handheld device. It has been designed as a universal aid for welding experts for documenting welding data, error analysis, power source calibration and the “T8/5 time measurement”. The sensors provided are used to connect WeldScanner to the the welding power source with just a few turns of the hand.
After an automatic detection of the welding start, the display shows parameters such as welding voltage, welding current, wire speed, gas flow rate and two additional free measuring channels and saves the curve progressions in the device memory.
After ending the welding process, average values of parameters and curve progressions can be displayed and also be printed directly using a printer.
Additional analysis options such as analysing the parameter progressions, archiving, printing the documentation and calibration logs are provided by the easy-to-understand Windows software. The data from WeldScanner is copied to the PC using a USB memory stick and can be analysed on the PC systematically as per the date, time and number.
- Recording and optimising the documentation, maintenance, checks, evaluation and calibration of welding systems and processes as regards quality and consumption values
- Finding the causes of errors
- Preparing process inspections and work instructions (WPS)
- For automated and manual welding
- For welding process variables such as current, voltage, gas, wire, etc.
- Writer, calibration device and “digital oscilloscope”
- Measuring the T 8/5 time
- Up to 20.000 measurements/se, selectable depending on the process
- Rugged and industry-compliant owing to a stable aluminium die cast housing
- HF tested
- Large colour display
- USB port
- Internal memory of up to 64 hours
- Can be universally connected to all welding devices
- Very easy to operate
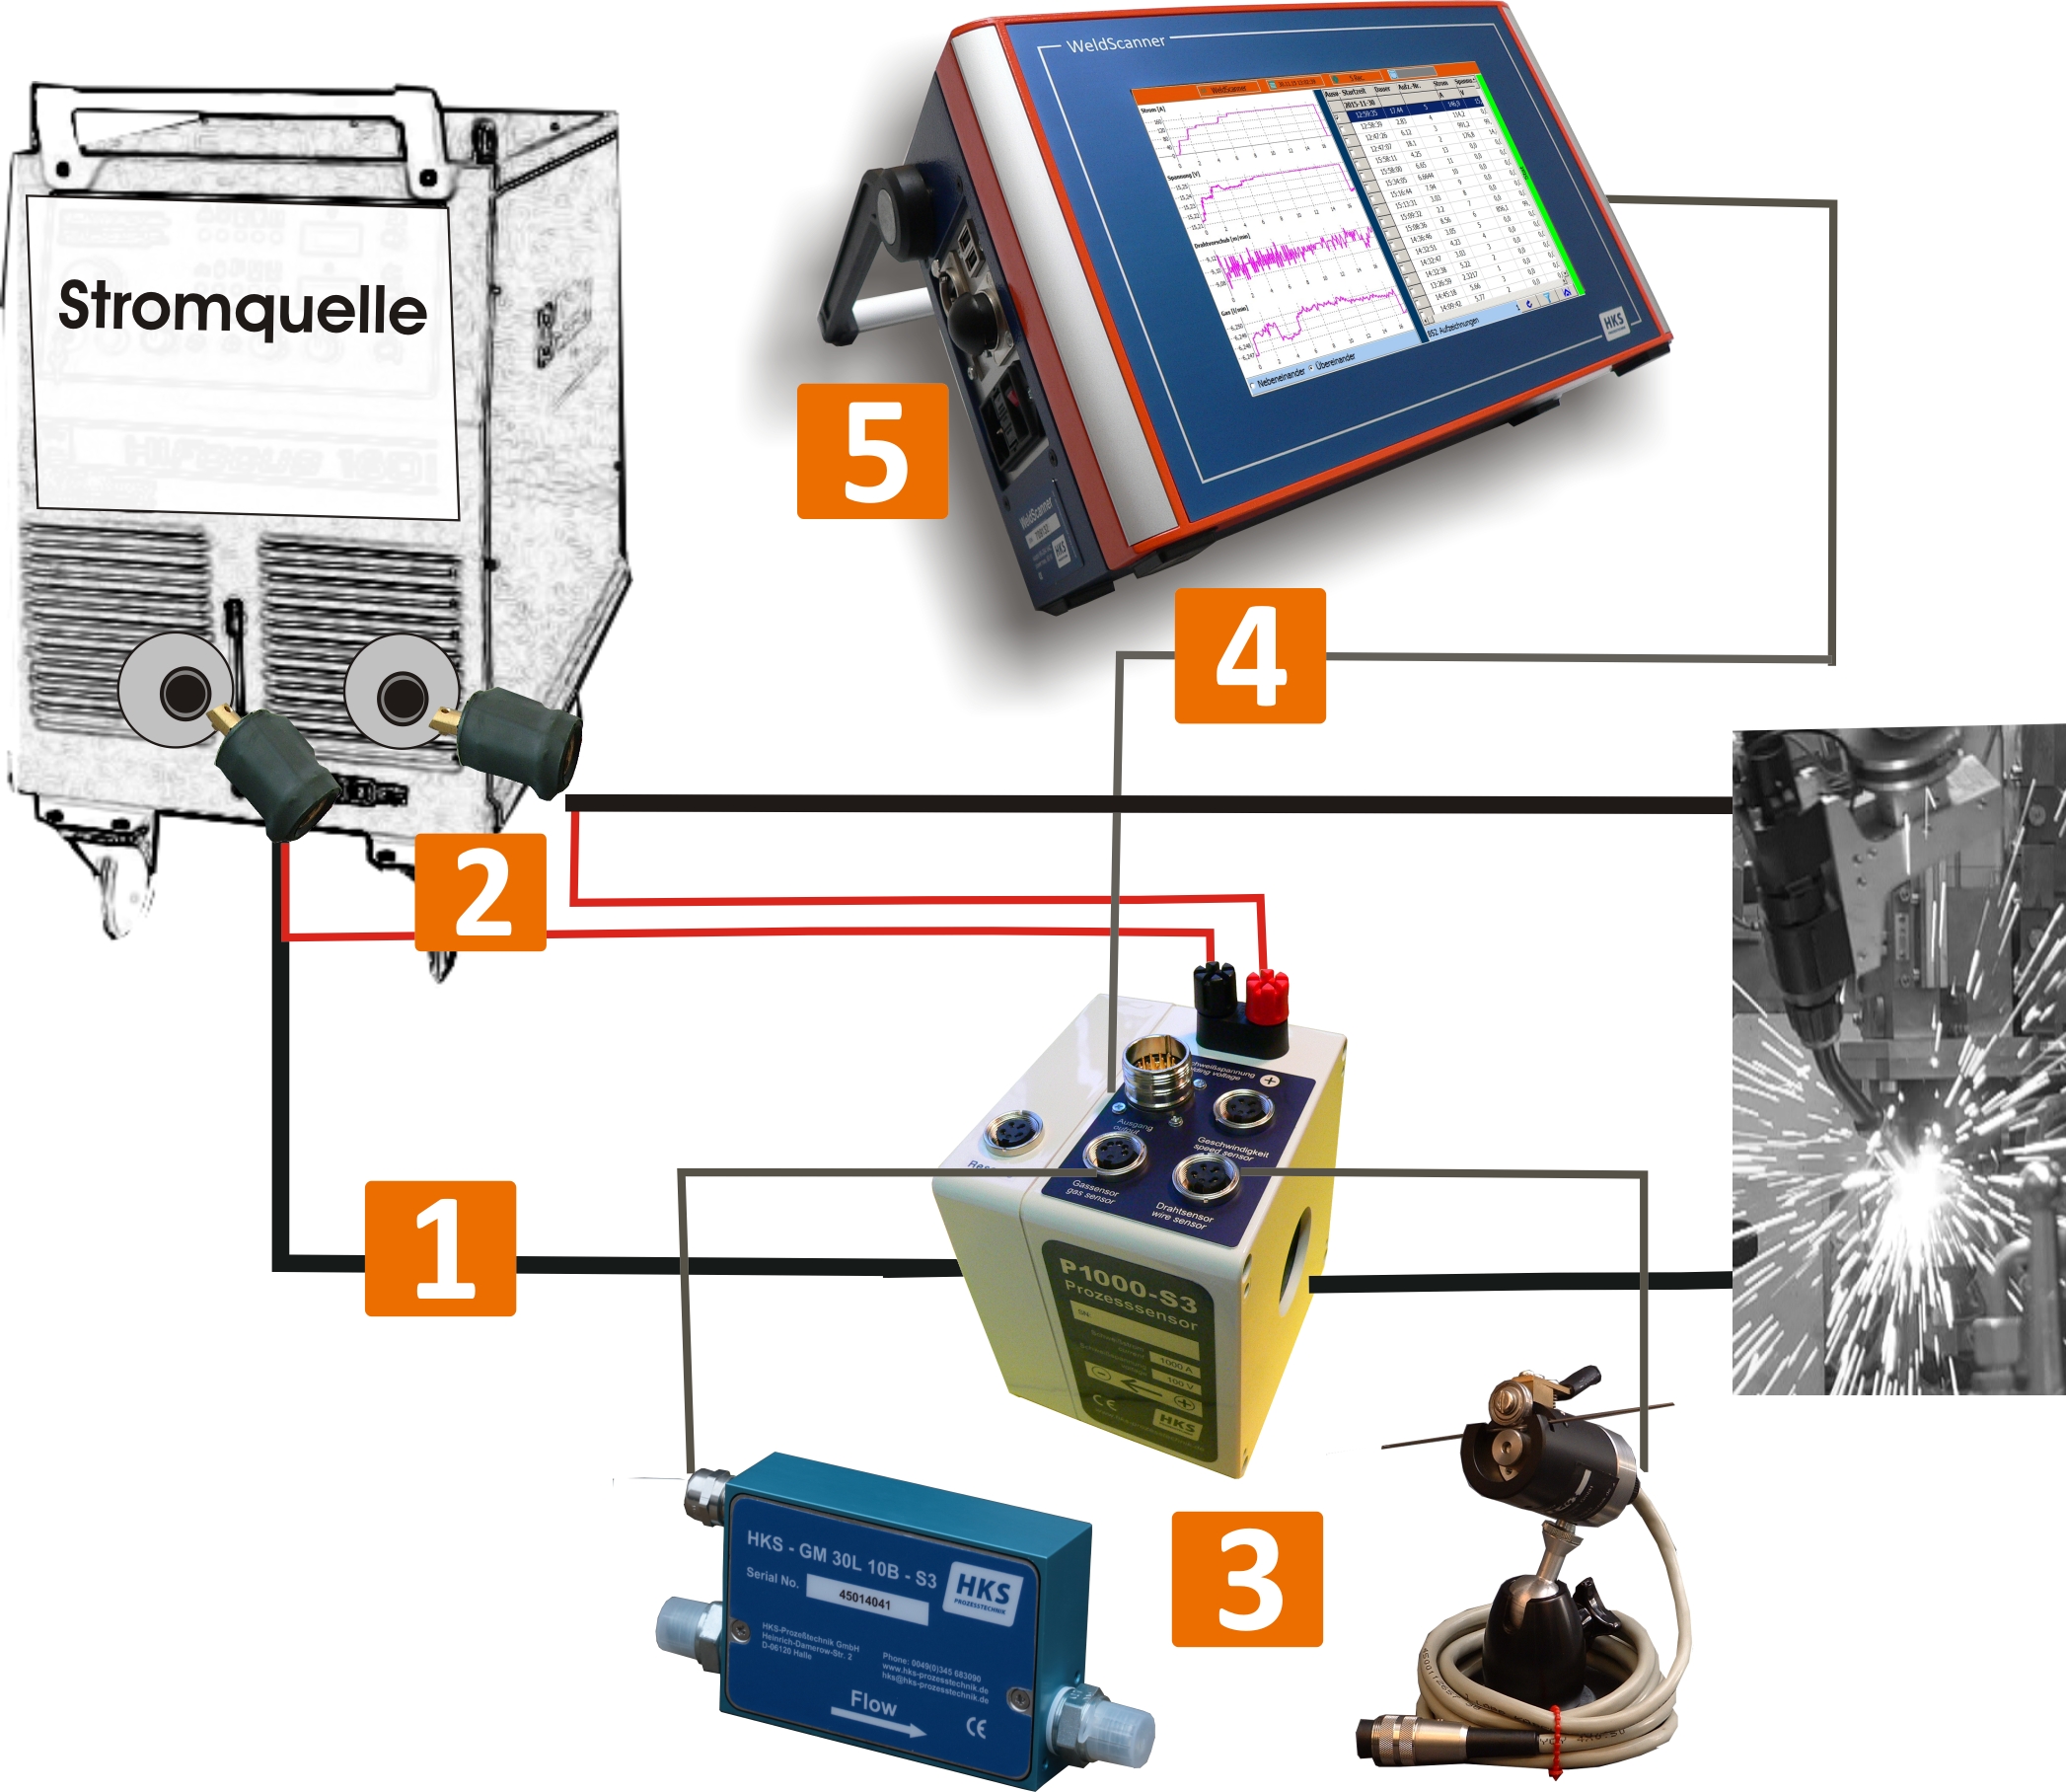
Connection of WeldScanner with just a few turns of a hand.
- put the welding cable through the process sensor
- connection of the welding voltage
- connection wire and gas sensor (optional)
- connect the process sensor and the WeldScanner
- connect the WeldScanner with the power supply
- Data record can start now.
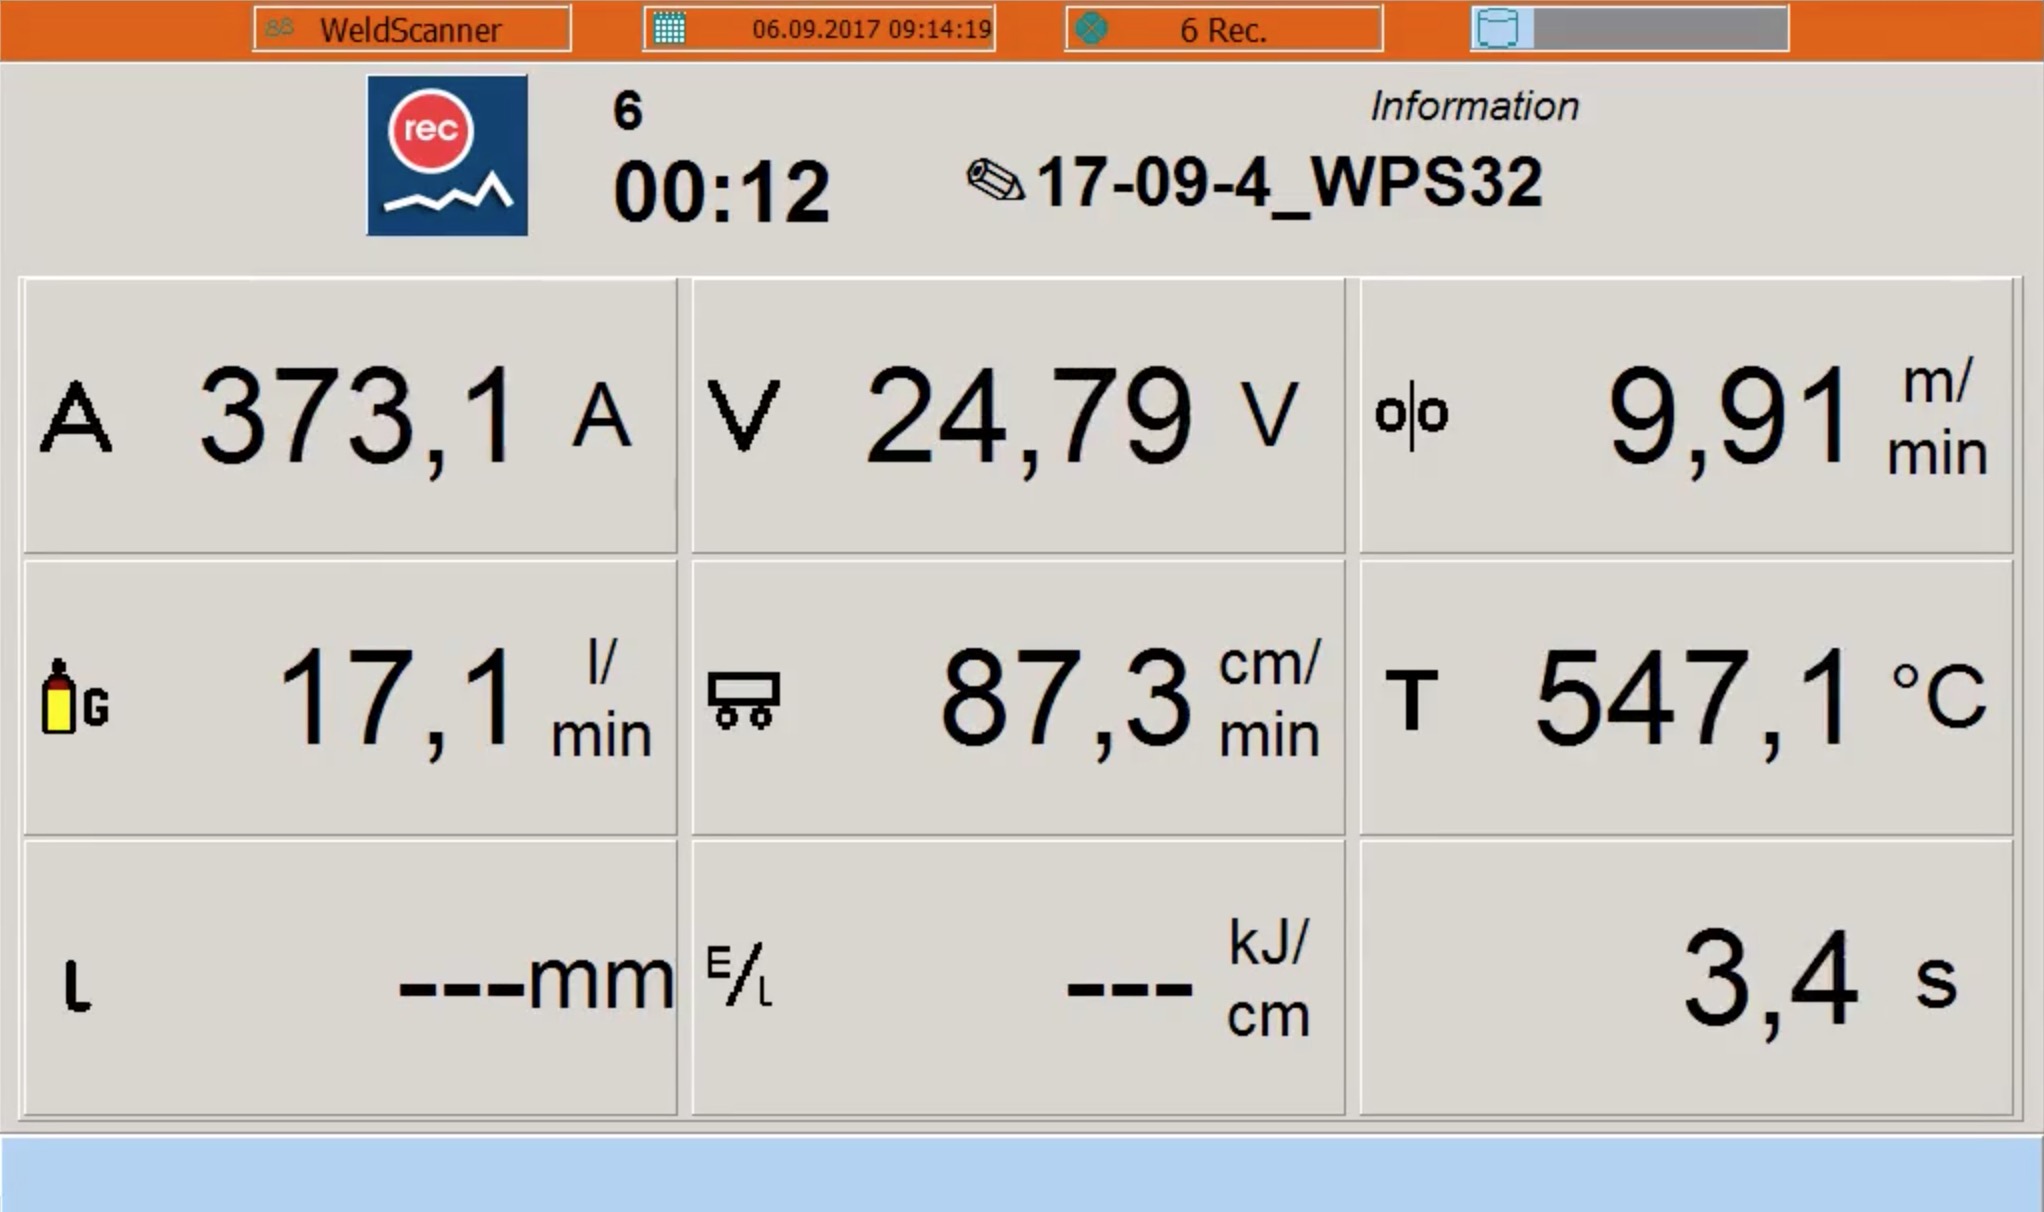
You can immediately start the measurements process once the main screen of the WeldScanner device is displayed. If you start a welding process, it is automatically detected and WeldScanner starts recording the welding process.
This means: Similar to a multimeter, the current parameters and the duration of the welding process are displayed. After ending the welding process, the recording is automatically saved and can be used for further analyses.
A tabular list of all welding recordings in the ring storage is given below. Each row represents one welding sequence. This table contains the list of average values of recorded parameters, batch numbers as well as the date and time of recording.
The detail view shows curve progressions and average values of parameters of this welding sequence.
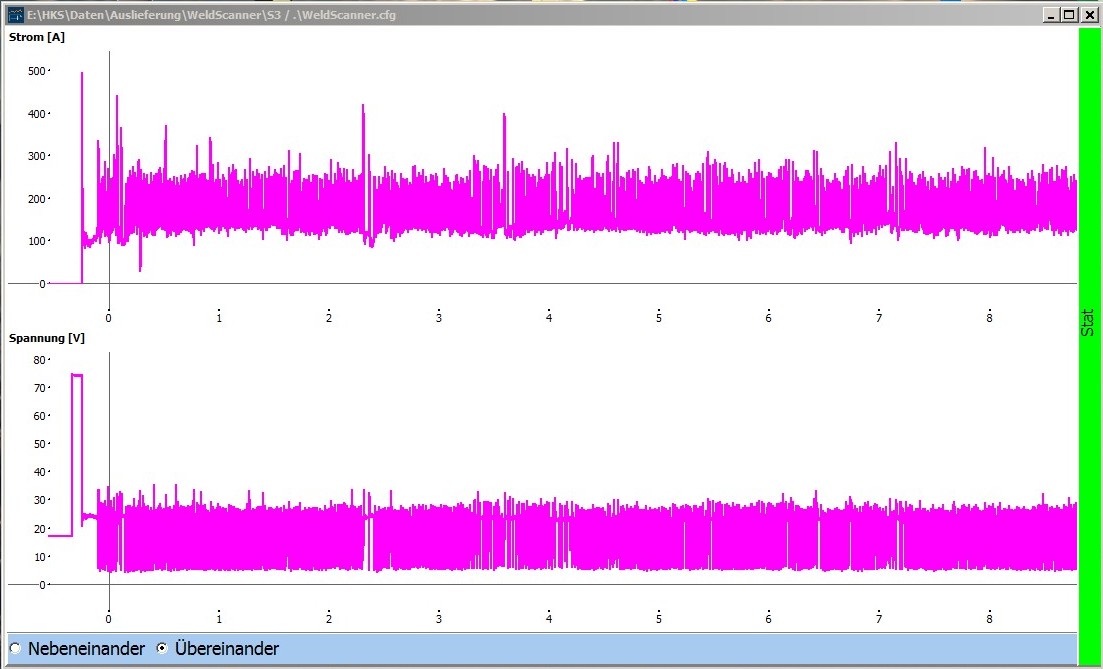
Similar to a digital storage oscilloscope, measured values with an extremely high dynamics (scanning rate of 23.000 Hz for each measuring channel = 23.000 measuring points per second) can be recorded in the “Scope mode”.
All measuring channels selected in the configuration are recorded in this mode. Two measuring channels can be simultaneously displayed.
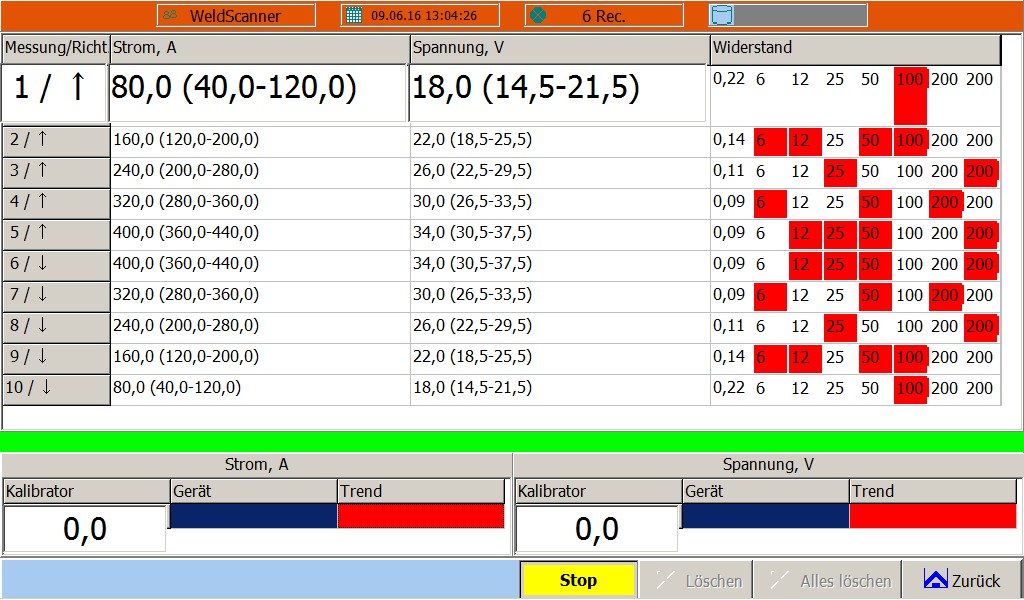
The calibration mode can be activated as an additional optional function of WeldScanner. It helps in calibrating welding devices as well as in managing and printing the calibration logs.
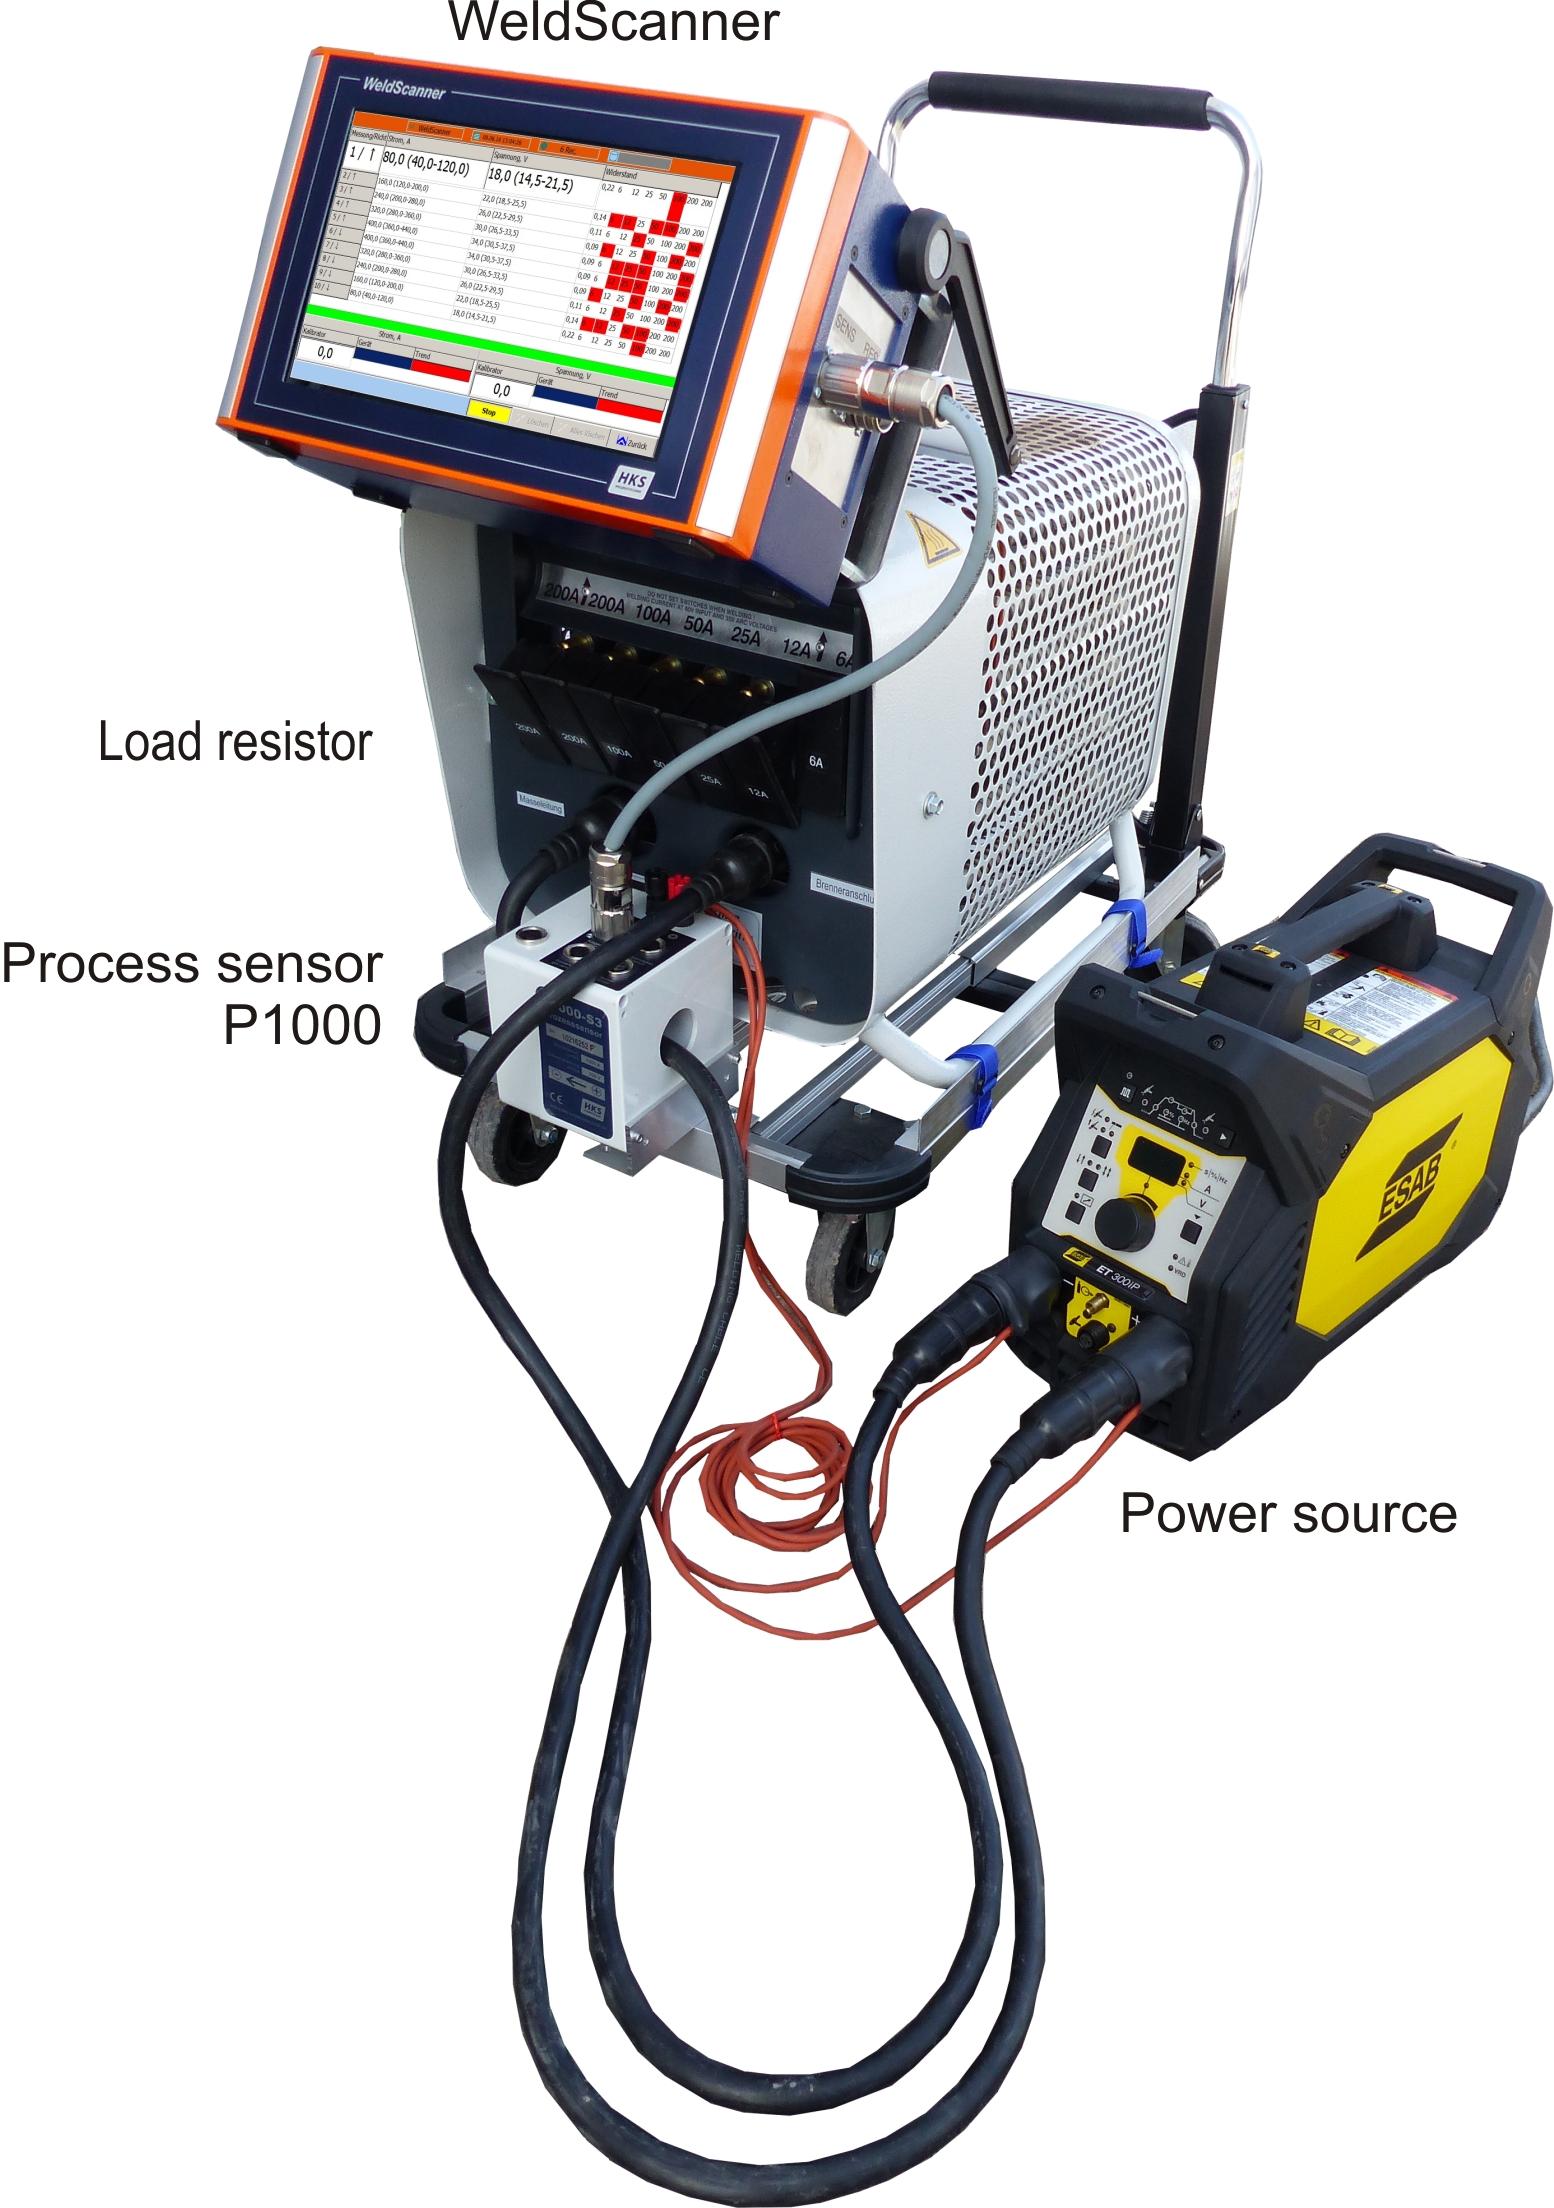
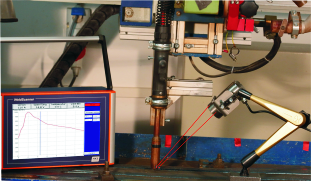
The T8/5 time measurement option allows determining this time at a defined point on the welding seam easily, quickly and safely in combination with a pyrometer.
The recording starts as soon as the minimum temperature is reached. If it is undershot, the recording stops.
Evaluation:
the evaluation table of all measured process variables and welding processes along with the T 8/5 time and average temperature is displayed on the Recordings screen.
