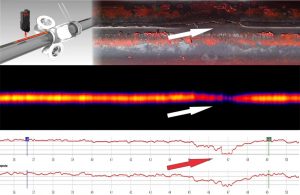
Our system for non-destructive testing based on passive thermography offers many advantages for quality control in tube production.
This is made possible by a thermo line camera (sensor) specially developed for welding applications, which is not based on standard optics. The temperature is measured on a line above the seam. Many of these profiles taken together produce a thermal image from the seam.
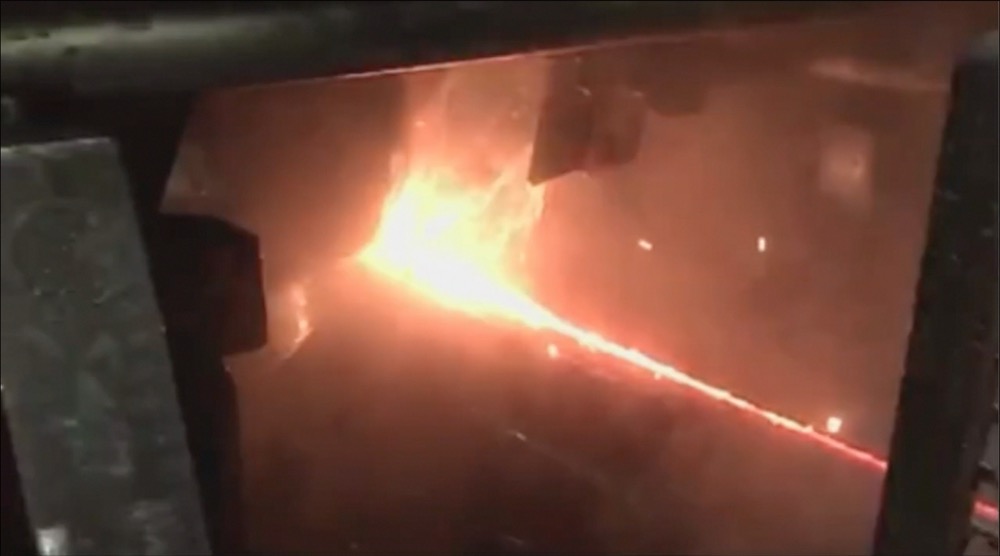
In contrast to conventional methods (eddy current testing, ultrasonic testing), the process is monitored based on real thermal images. Welding defects such as asymmetric penetration, insufficient penetration depth, cold seams and many other irregularities such as holes and pores are reliably detected.

The real heat field displayed on a monitor gives the welder in the pipe system a real “view into the seam” during the welding process.
Visit us at the world’s most important trade fair for the tube industry – at the “tube Düsseldorf” in hall 6, booth D15.

